
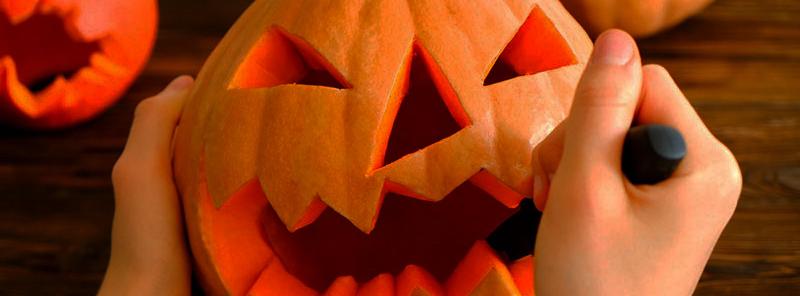
If you’ve never carved a pumpkin for Halloween, chances are it’s because knowing where to start is a puzzle. The fear of injuring yourself is a very legitimate one, but what’s more concerning is where do people find all the pumpkin carving ideas? Make this year different with our free pumpkin carving stencils to help you actually enjoy the process of creating your very own Halloween pumpkin designs.
Our free Halloween pumpkin stencils come in all the categories that might catch your eye: simple ones for those that have never done this before, advanced ones if this really is the 20th time you’re doing this, funny ones if you want to make a night of it, scary ones for a classic touch, and creative if you’re sick of the classic pumpkin designs.
In this post, you will find clear instructions on how to prepare and carve your pumpkin, as well as tips that will help you if this is your first time. What’s important is that you enjoy this process, have a pool of ideas to help you get started and that ultimately you will come out of this with a newfound love for getting ready for Halloween with Depositphotos. Scroll to the end of the article to download all the free pumpkin carving stencils.
Preview of our free pumpkin carving templates:
Easy pumpkin carving stencils
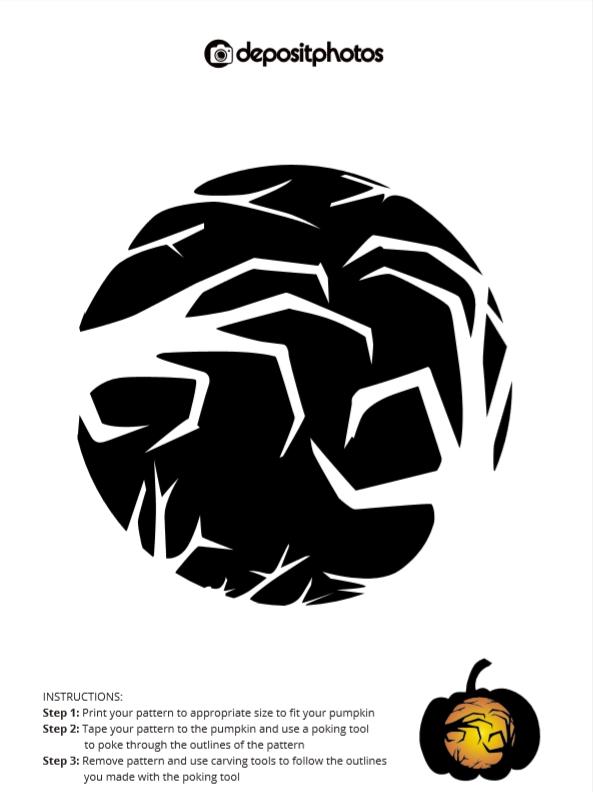
Advanced pumpkin carving patterns
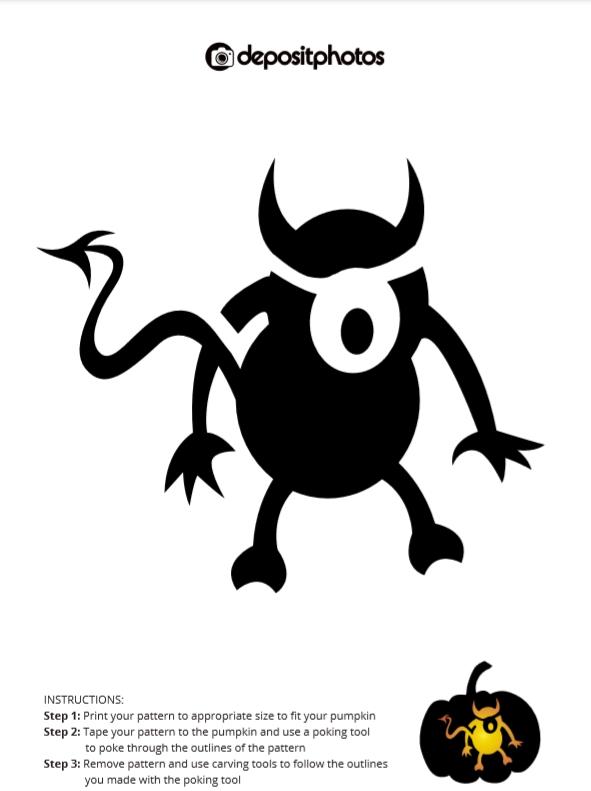
Funny pumpkin carving ideas
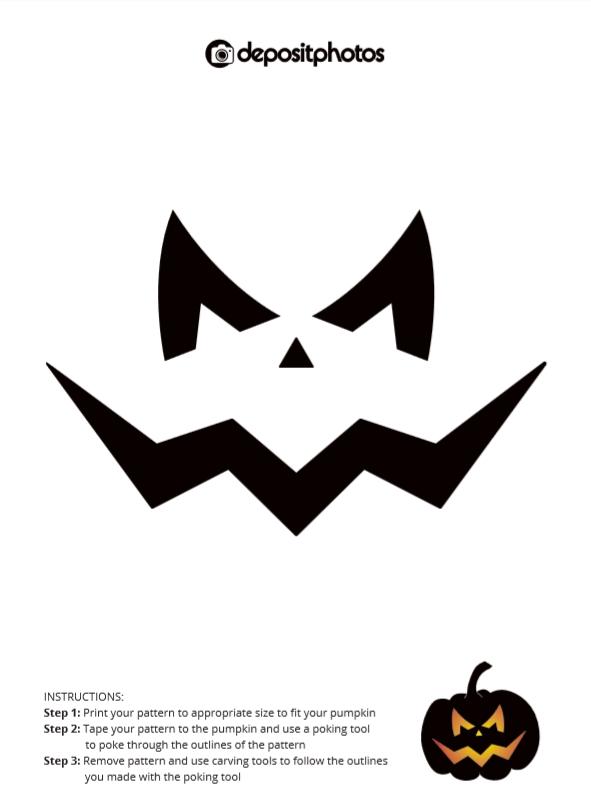
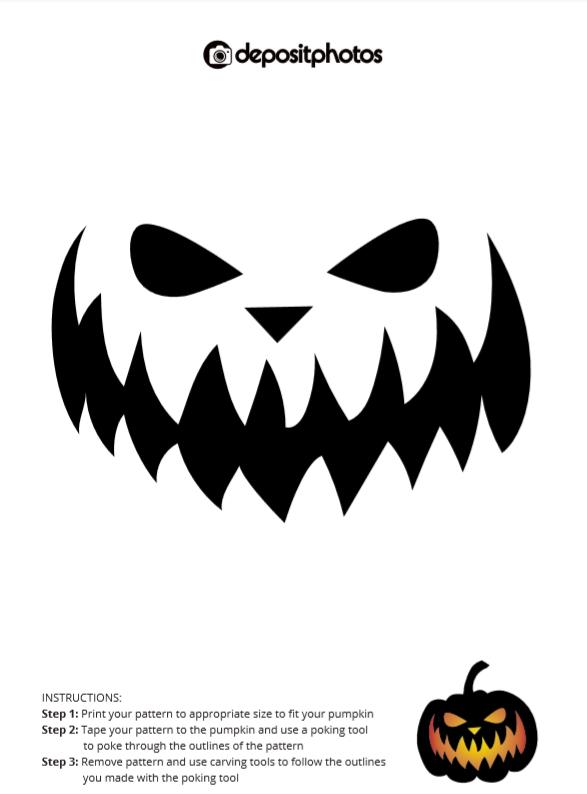
Scary pumpkin carving stencils
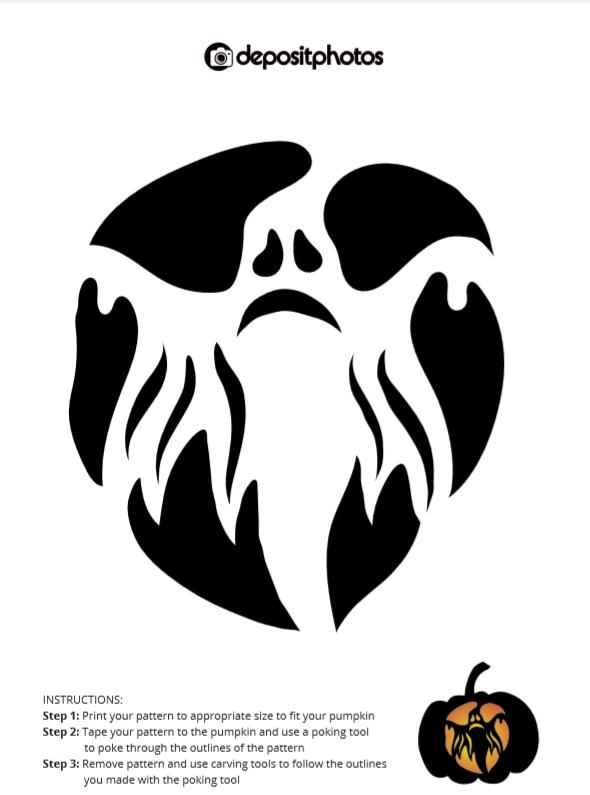
Creative pumpkin carving ideas
See even more pumpkin designs in our PDF pack that you can download for free at the end of this article.
Instructions on how to use our free pumpkin carving stencils
Step 1: Find a pumpkin, choose and print your pattern to fit
Find a medium-sized pumpkin. When you print our pumpkin stencils PDF, you can scale the size of the stencil to fit your pumpkin. If you have a medium-sized pumpkin, a simple A4 print out should be the right size without the need to scale the stencil.
Step 2: Preparing your pumpkin
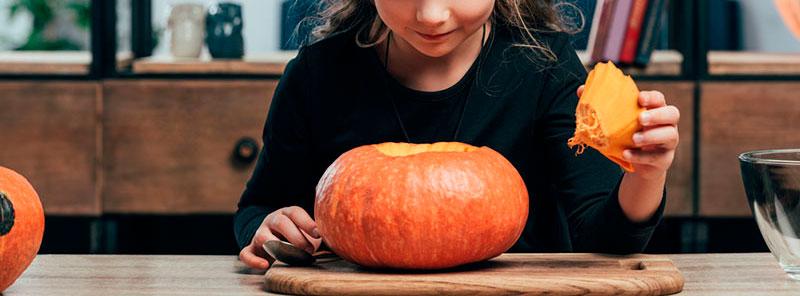
Use your kitchen table for this stage. Cover the table counter with some newspaper, because things might get messy. It’s best to use a carving saw to hollow out your pumpkin but if you don’t have a pumpkin carving kit, a kitchen knife will do.
Carefully carve a deep hole at the top of your pumpkin large enough to fit your hand. Try to be neat so that this part you carve out can later be fit on top of your pumpkin. Take this part you’ve cut out and get into the pumpkin with a spoon or a scooper and get all the seeds and mush out from the inside.
You should be left with just the carcass of the pumpkin at the end of this stage. Get a paper towel and get the dirt off the pumpkin. Dry it to help you move onto the next stage.
Step 3: Fitting the pattern
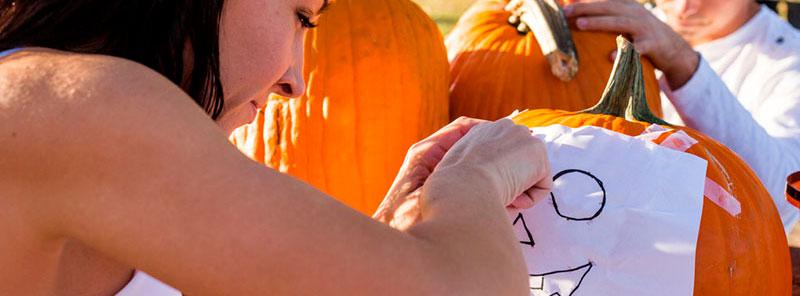
Once you have a print out of your pumpkin stencil, use some tape to fit the A4 paper onto your pumpkin so that it fits well around your pumpkin. Make sure your pumpkin is completely dry when you do this. It’s important that the A4 paper is taped in a way that has minimal wrinkles.
Step 4: Using the stencil to form outlines

You will need a poking tool for this stage. If you have a pumpkin carving tool kit, a push pin should come with it. Simply use it to create small holes along side the outline of the pumpkin stencil you’ve taped to your pumpkin. You can see it being done in this video. Create holes as guidelines, adding a new hole every .5 centimeters or so. You’re working on creating an outline for yourself which will help you carve when you remove the pattern.
Step 5: The fun stuff
When you remove the pattern, you should be left with an outline made of holes from the stencil you followed. You can keep your stencil nearby for reference, but the holes you made should be clear enough for you to follow with a carving saw. Use the carving saw to cut out the areas you marked, cutting right on the dots. Take your time to do this, and enjoy the process because arguably this is the most fun part of this activity.
When you’re done:
Clean up your pumpkin after you’re happy with your carving. You might find some pieces of the pumpkin inside it from when you were carving, remove those and you’re done. Take the top of the pumpkin off and place a candle inside. You’ve just made your first Halloween pumpkin this year! Congrats! Now grab another pumpkin and a new pattern from our collection 🙂
General tips on pumpkin carving
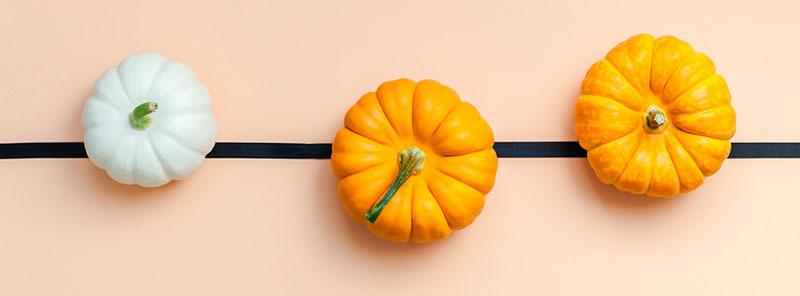
Tip #1: When you’re choosing your pumpkin, opt for one with a smoother outside rather than one with deep ridges because this will make stenciling and carving much easier.
Tip #2: If you’re having a hard time taping the pattern to your design, you can use scissors to make several cuts in the paper to make the paper fit on a more rounded surface.
Tip #3: Remember to poke holes about .5 centimeters apart. If you poke holes too close together, it will take you forever but generally, it’s better that they’re closer together than further apart because you’ll have more clear dotted lines to follow. Make sure you also simply pierce the pumpkin skin, not all the way through the carcass.
Tip #4: Safety first! If you don’t have special carving tools, it’s advised to not use kitchen knives, however, if you have a small one that doesn’t look menacing, simply remember to keep your non-carving hand away from the blade.
Tip #5: If you want to try out the advanced pumpkin designs, you can create really intricate designs by carving the patterns at an angle. This creates a gradient glow when there is a candle inside.
Tip #6: Pumpkins can be extremely fragile, especially if you’re working on a very intricate pattern. Watch your hands and how you apply pressure to the carcass of the pumpkin. You don’t want to accidentally destroy a part of your design.
Tip #7: We don’t know your pumpkin like you do. If for some reason you can’t clearly see the holes you’ve poked with your push pin, or can’t follow your own pattern, rub some flour on the dotted areas so that the holes and the general outline is more visible.
Download 25 free Halloween templates for pumpkins
This year, we’ve created 15 more Halloween templates for pumpkins
Have you already been carving pumpkins for Halloween for many years? If you are a pro in this business, here’s a list of new designs that are more complex and interesting to experiment with.
When you’re ready to share your pumpkin designs:
You can carve your pumpkins using our free pumpkin carving stencils and DM us your creations on Instagram @depositphotos. If we have enough creative participants this Halloween, we’ll do a feature article on all the pumpkins you guys have created. Now, what are you waiting for? Download all our patterns and get ready for Halloween with us!


Related Articles

News and events
Spark Your Creativity! Depositphotos Launches AI Generator With Commercially Safe Images
Discover how to create exclusive, high-quality, and commercially safe images from simple prompts. Your imagination is the only limit.

Curated collections
Free Stock Photos, Videos and Vectors From Depositphotos
If you work in the creative field, you know that visual content is in constant demand. Sometimes you have to be resourceful and plan your visual marketing strategy in advance. With so many tasks and campaigns, it’s nice when you can turn to free stock photos. You never know what’s in store for you, so always have a safety life supply of snacks and of course, stock files.

Other
Depositphotos launches a free extension for Adobe products
Fort Lauderdale, Florida, USA, December 5, 2013 – Depositphotos, the fastest growing microstock agency in the world, launched a free extension for working with its multimillion-image library from within the programs of Adobe Creative Suite and Adobe Creative Cloud.
The extension allows users to search through more than 19 million stock files available in the Depositphotos collection, easily preview potential images within your current projects before purchasing them, then track and store all the purchases in a single place. The Depositphotos extension for Adobe Photoshop, InDesign and Illustrator is free of charge. You can download it at the Depositphotos website or on the Adobe Marketplace.Other
Depositphotos: eженедельный обзор, 10 декабря
Топ-15 поисковых запросов недели: Christmas, Vector, Abstract, Beauty, Clipart, Background, 2013, Christmas tree, Christmas background, Woman, Business, Girl, Snow, Santa, New Year. Бестселлер недели: Elegant Classic Christmas Background | Stock Vector © Depositphotos…

Archive
Depositphotos’ weekly Review
Top 15 searched Keywords of the Week: Model, Clipart, Wedding, Family, Baby, Tree, Business, Vintage, Beach, Flower, House,…

Other
Depositphotos at RemaDays-Kiev 2012
RemaDays-Kiev is an international advertising show put on by RemaCongress, a group dedicated to advertising and marketing communications, which recently hosted RemaDays-Warsaw and RemaDays-Europe. The Kiev show combines four advertising sectors: Out&InDoorSystems, GiftsWorld, TechnologyPark and PrintShow. This year, the show was held in the International Exhibition Centre in Kiev, Ukraine, from February 29 to March 2.
Read top articles of the month!
Don’t want to miss any tips or industry news? Subscribe to the Depositphotos blog digest.
