THE PIE CRUST
As any of you know who’ve hung around this godforsaken place (or used my cookbook) for any length of time, for years I’ve used a no-fail (and so flaky you can’t believe it) pie crust that was shared with me by a woman named Sylvia. And I firmly believe that when Sylvia appears before her maker one day, he will place his hand on her head and say “Well done, my child. Well done.” For Sylvia’s pie crust recipe has made its mark on many a family’s Thanksgiving table.
For the printable recipe for the pie crust, click here:
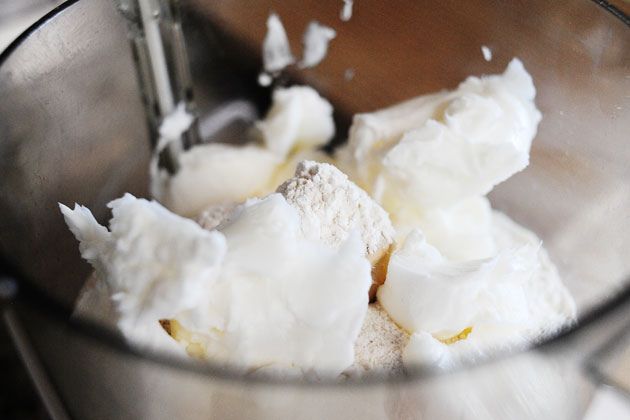
I’ve gotten a little lazy through the years, especially when I have a bunch of other cooking going on, and often whip up the pie crust in the food processor. Here’s the flour and shortening.
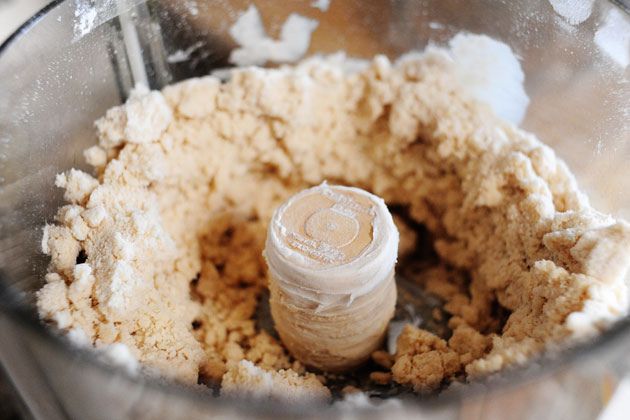
I do about thirty very quick pulses. I don’t want to just kill this stuff and process it to death; the quality of the crust would be affected. Just go until the mixture resembles coarse crumbs. Ideally, you’d do this with a pastry blender to avoid overdoing it.
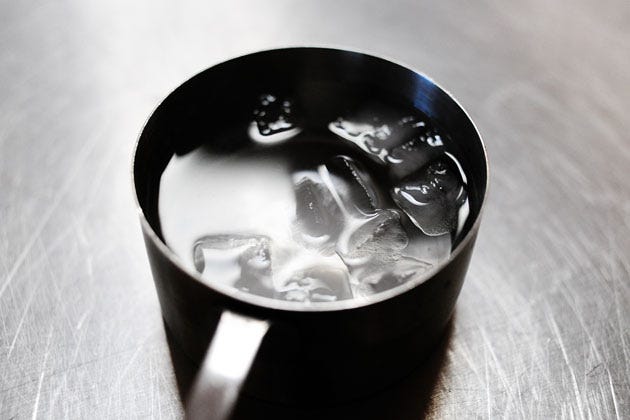
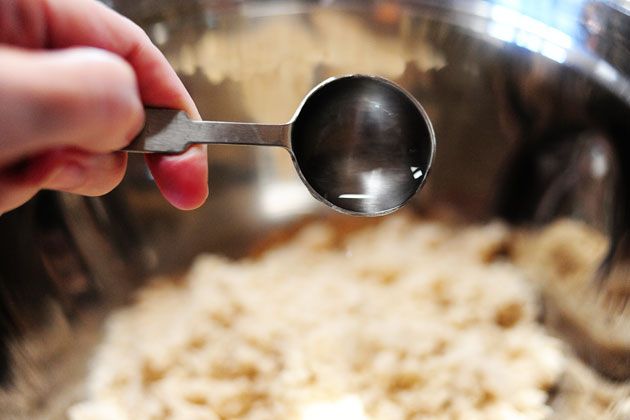
Next, you add a little ice water…
And a little vinegar.
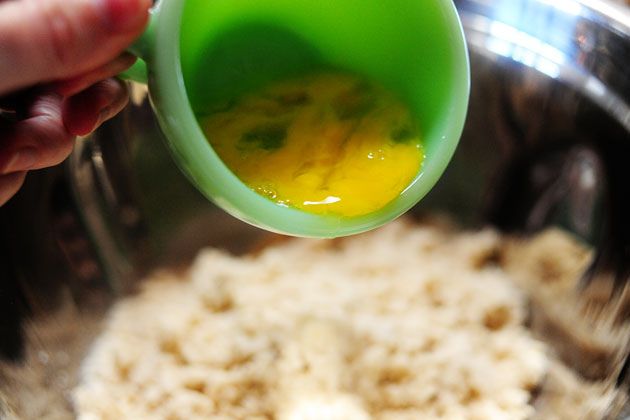
And a beaten egg.
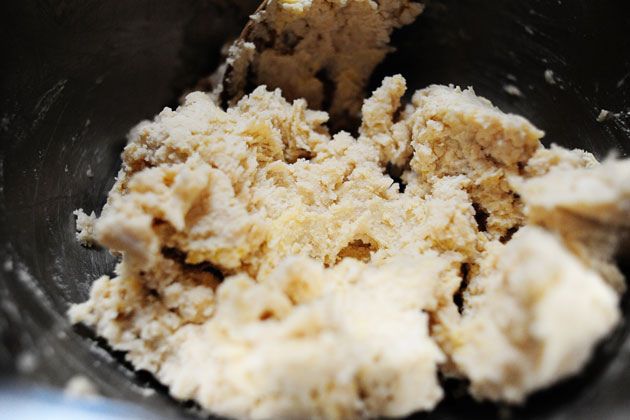
Stir it together gently, just long enough for the mixture to come together.
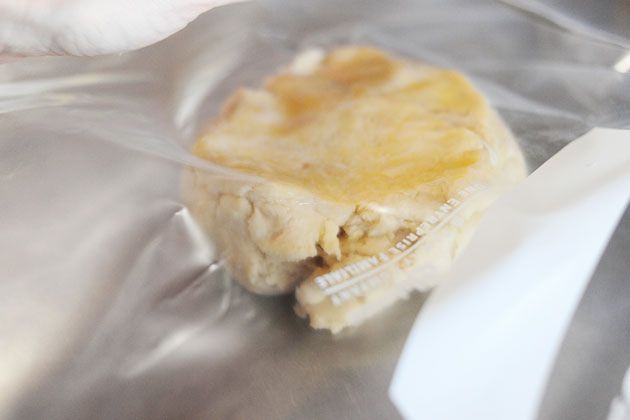
Next, split the dough in half, form each half into a rough ball, then place each ball into a separate ziploc bag. Slightly flatten each ball, seal the bags, then place ’em into the freezer until you need them. (If you’re using the pie dough right away, you still need to freeze it for a good 20 to 30 minutes, so it’ll be firm enough to roll out and work with. (And this also somehow improves the flaky nature of the crust.)
THE PIE
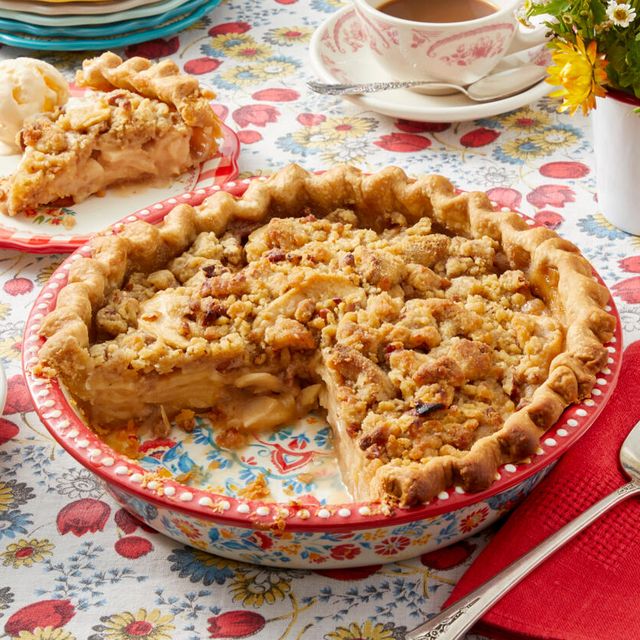
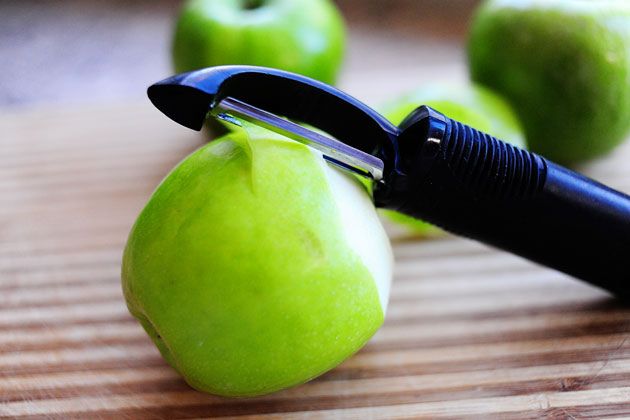
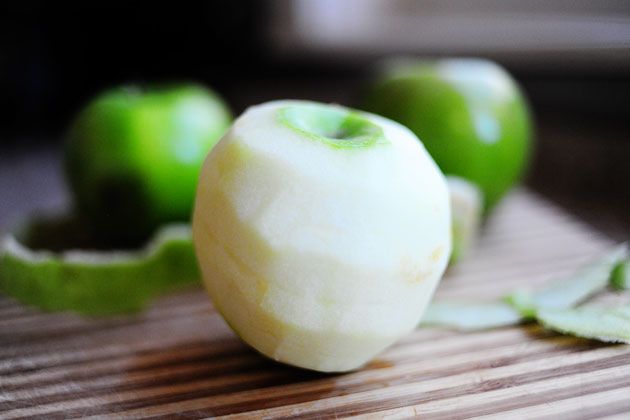
When you’re ready to make one of the best apple pies in the world, peel three good-sized Granny Smith apples. Try to keep the peel in one long spiral. Pretend if it breaks, you’re a complete dork. If it doesn’t break, you’ll be voted homecoming queen.
Sorry. Didn’t mean to project my issues onto this lovely recipe.
I can’t promise it won’t happen again.
WHY DIDN’T YOU LOVE ME BACK, TEDDY? IS IT BECAUSE I WASN’T TAN LIKE YOU?
Sorry again. 1984.
It haunts me so.
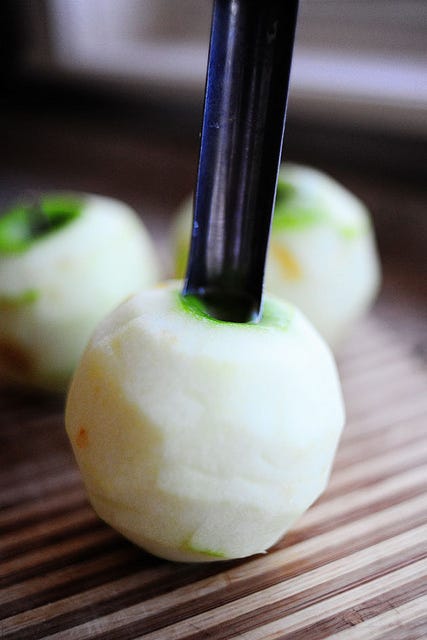
Core the apples.
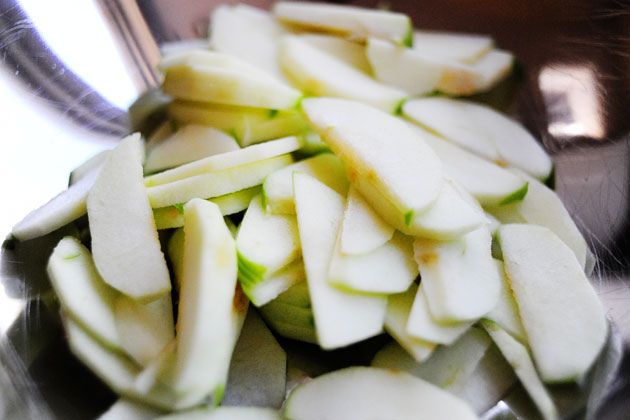
Slice the apples into about 16 slices per apple (a few more if you like the apples nice and thin, which I do) and throw them into a bowl.
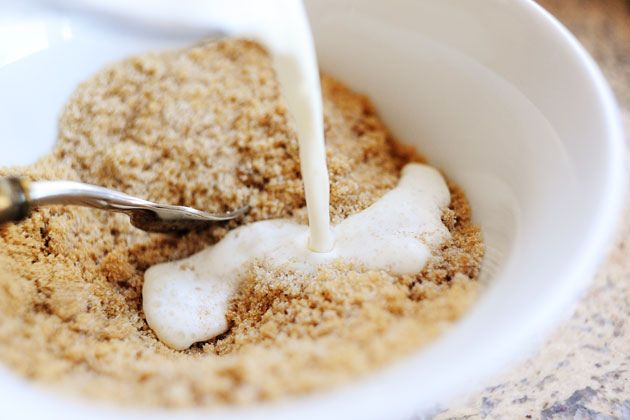
Okay, now we’re going to mix up the creamy dream concoction for the apples. Mix together white and brown sugar in a bowl…
Pour in heavy cream.
You heard me.
Add vanilla…
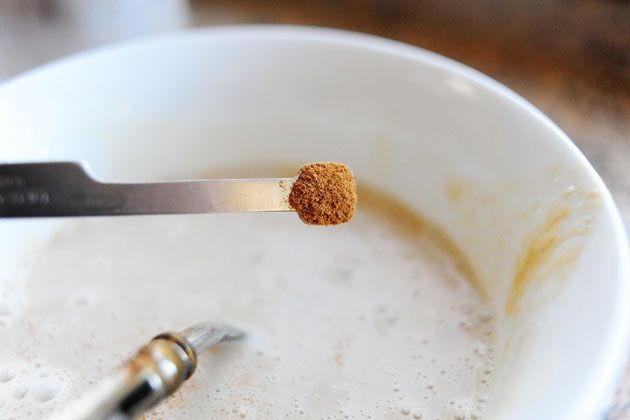
A teeny bit of cinnamon…
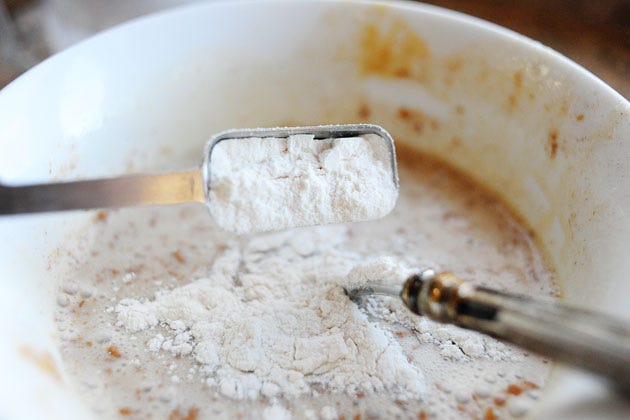
And flour, to give it all a little cohesion.
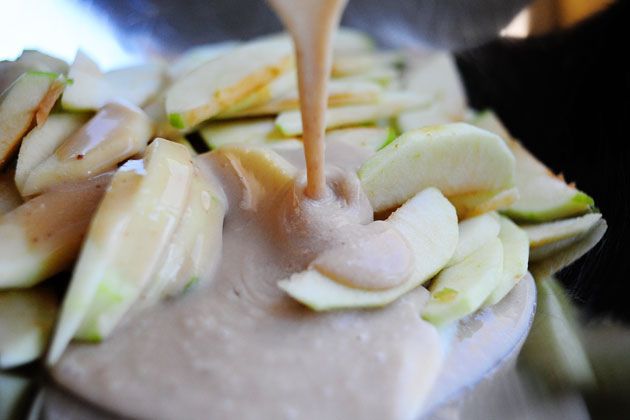
Mix it together and pour it over the apples. Stir the apples and set ’em aside.
Note: Do NOT lick the spoon after mixing the apples. One thing will lead to another and soon your head will be in the bowl of apples, there’ll be one apple slice left, and you’ll have cream and sugar all over your face.
And you won’t have a pie.
Wouldn’t that be embarrassing?
Now it’s time to roll out the pie dough. Flour the surface and the rolling pin.
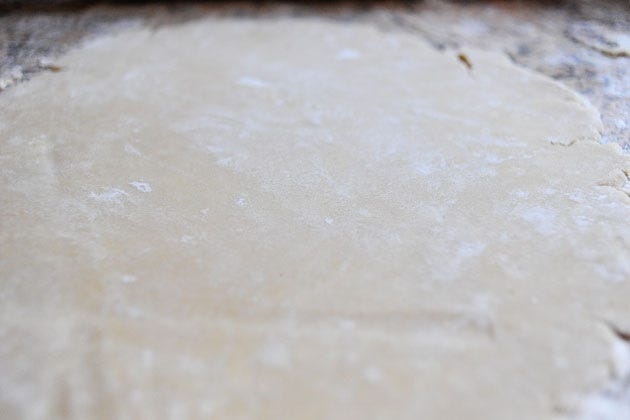
Then roll it out into a large circle.
I make it sound easy, but I’m not going to pretend that it’s just slap-slap, roll-roll, perfect circle every time, particularly with this pie dough. It takes finessing, fiddling, and patience.
Here’s how I roll it out:
Take the disc of dough out of the plastic bag.
Put it on the floured surface.
Sprinkle flour on top.
Roll a couple of times. A little dough will stick to the pin.
Flour again. Roll a couple of times. The dough will crack and freak out.
Push edges in with the palms of your hands, pushing them in to form a perfect circle.
Flour again. Roll a couple of times. Repeat the palm-of-hand thing to get the dough back into a perfect circle.
Consider picking up pie at your neighborhood bakery.
Remember that you live in the middle of the country.
Remember that there is no neighborhood bakery.
Keep flouring and rolling until it’s one big circle.
Use a large offset spatula to run underneath the dough and loosen it from the surface.
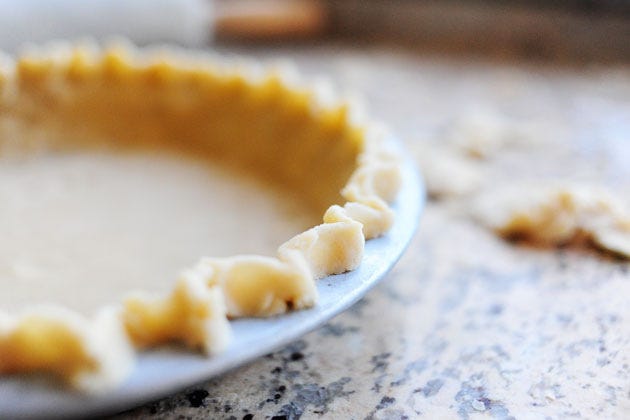
Carefully transfer to a pie pan. Trim off the excess around the edges, leaving enough dough for you to do something with the edge.
Go take a nap. I’m exhausted.
Are you impressed at my meticulous and perfectionist pie edge?
No?
Then you’re smart.
Look, I have other nice qualities. Perfect pie crust edges are not among them.
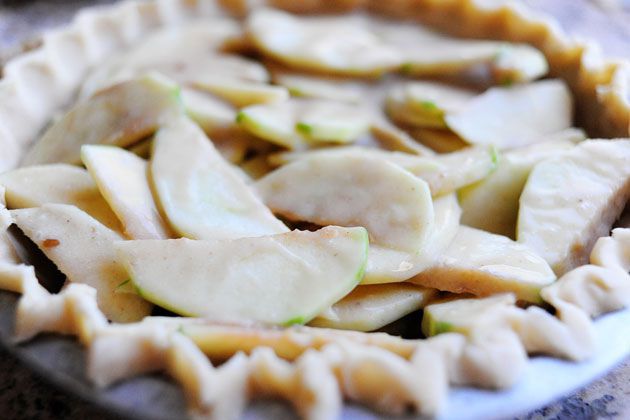
Pour in the apples.
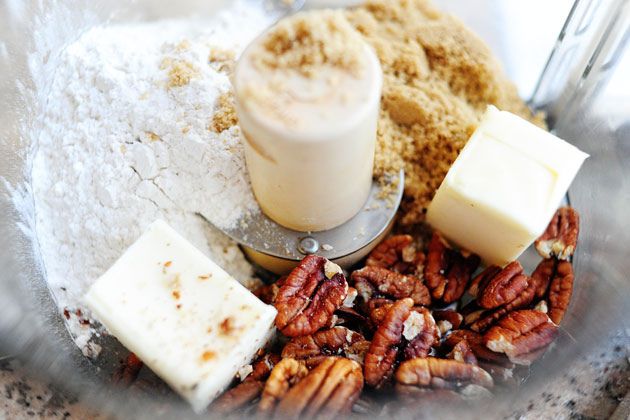
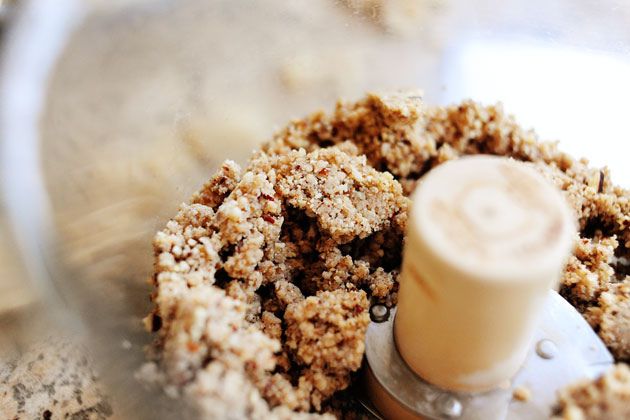
Then, back to the food processor, add butter, flour, brown sugar, pecans, and a dash of salt.
Process it several times, until the mixture comes together in large clumps.
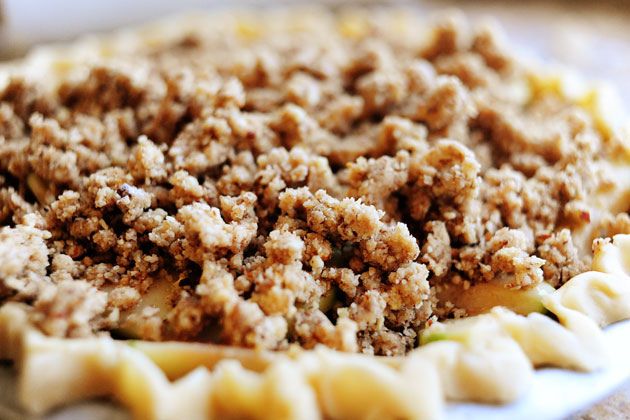
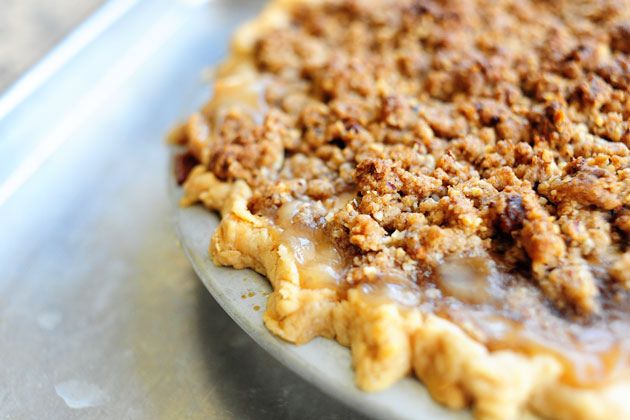
Pour the crumb topping over the top of the pie, evenly distributing it on the surface.
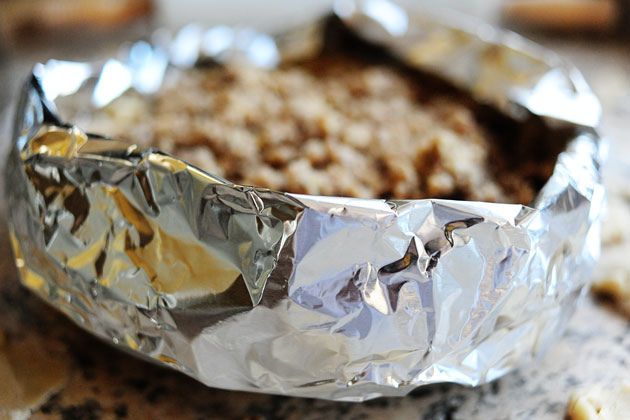
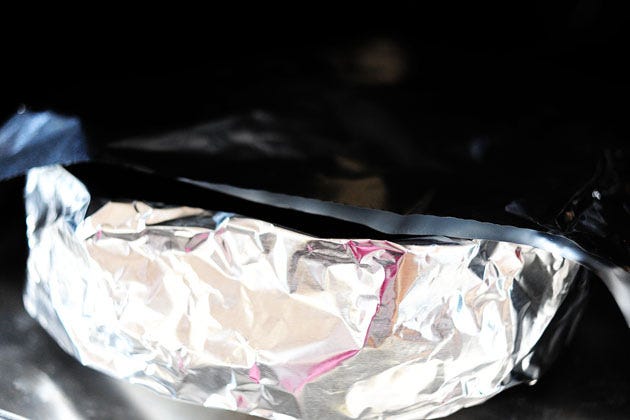
Then, what I like to do is make a little foil rim and fasten it around the edge of the pie crust (I do two halves and hook ’em together.) This will keep the edge from getting too brown too fast; we want the pie to bake long enough for the apples (and the sauce) to do its thing.
Bake it at 375 degrees for one hour, more if it needs it.
About halfway through, I checked the pie and saw that the topping was already nice and golden. I didn’t want it getting too brown…
So I just placed a flat piece of foil over the top for the rest of the baking time.
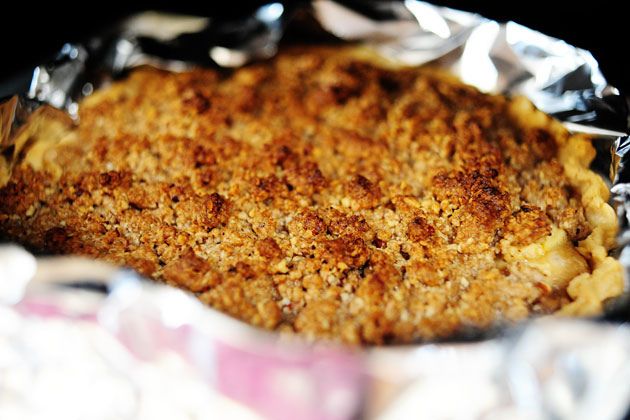
For the last ten or fifteen minutes of baking, I removed all of the foil so it would all be nice and golden.
Just bake until the pie is ultra bubbly. Remove from the oven and let it cool on the counter.
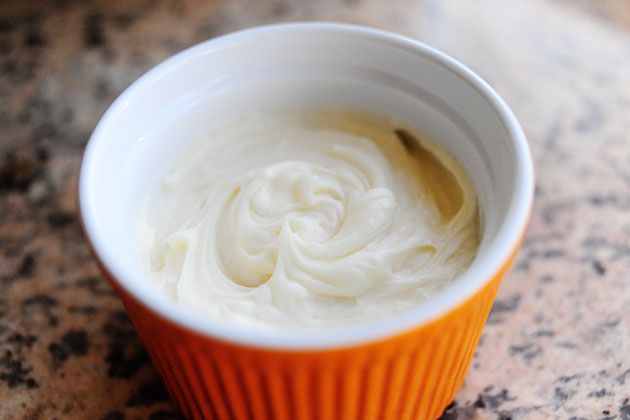
To serve, grab the hard sauce we made yesterday.
Here’s the recipe in case you missed it:
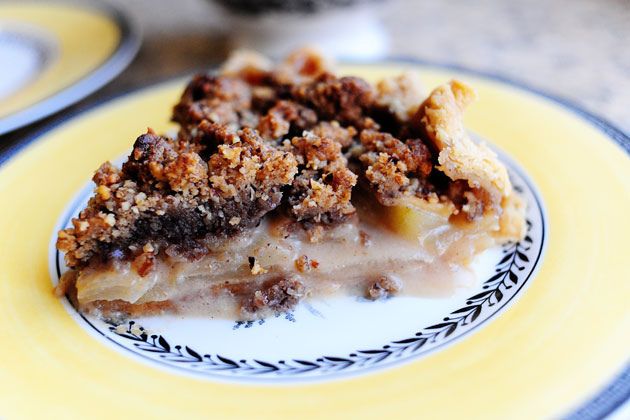
Dish up a piece of warm pie. If you made it the night before, nuke it for ten to fifteen seconds or so.
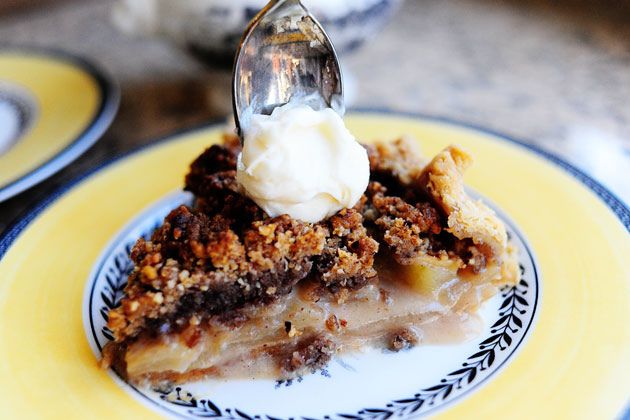
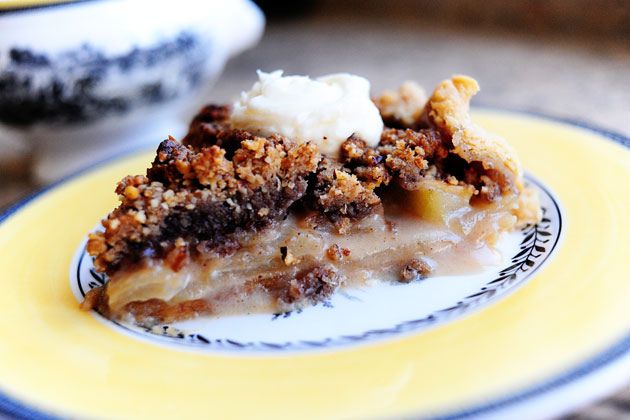
Plop some hard sauce on top.
Utterly divine.
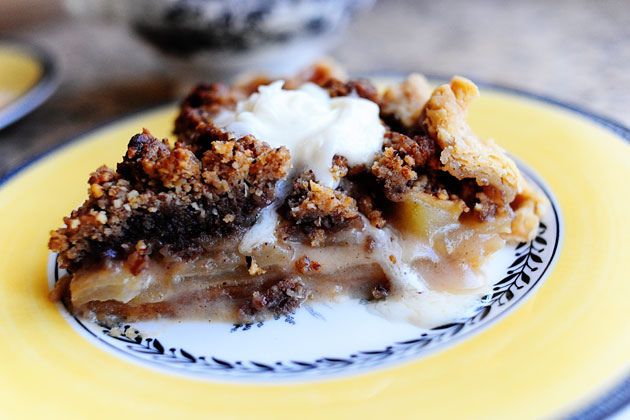
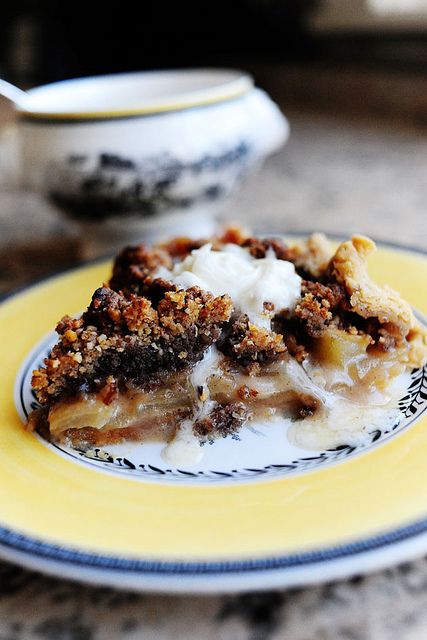
But wait.
Watch what happens.
Hard sauce, I love you.
Enjoy this, guys!
New pie recipe tomorrow.
Love,
P-Dub
Here’s the handy printable.
